5 Styling Tips for Flat Lay Photos
Do you love your finished knit but don’t know where to start when taking finished photos? Are you an aspiring test knitter that’s looking to build your portfolio? Are you using photos to make a sale for your handmade business?

Whether you’re posting on Instagram, Etsy, or Ravelry, it’s a good idea to learn how to take impactful photos that can both share your hard work and build your skills!
Check out these 5 tips to take amazing flat lay photos of your knits every time!
Or view the tips in micro tutorial here!
Tip #1: Choose a Complimentary Background

You want your hand knit to pop, so it’s the first thing you notice when you see the photo.
Depending on the intricacy of the knit (texture, colorwork, etc.), you will typically want to choose a background that is both neutral and subtle. Think wood grain instead of decorative table cloth.
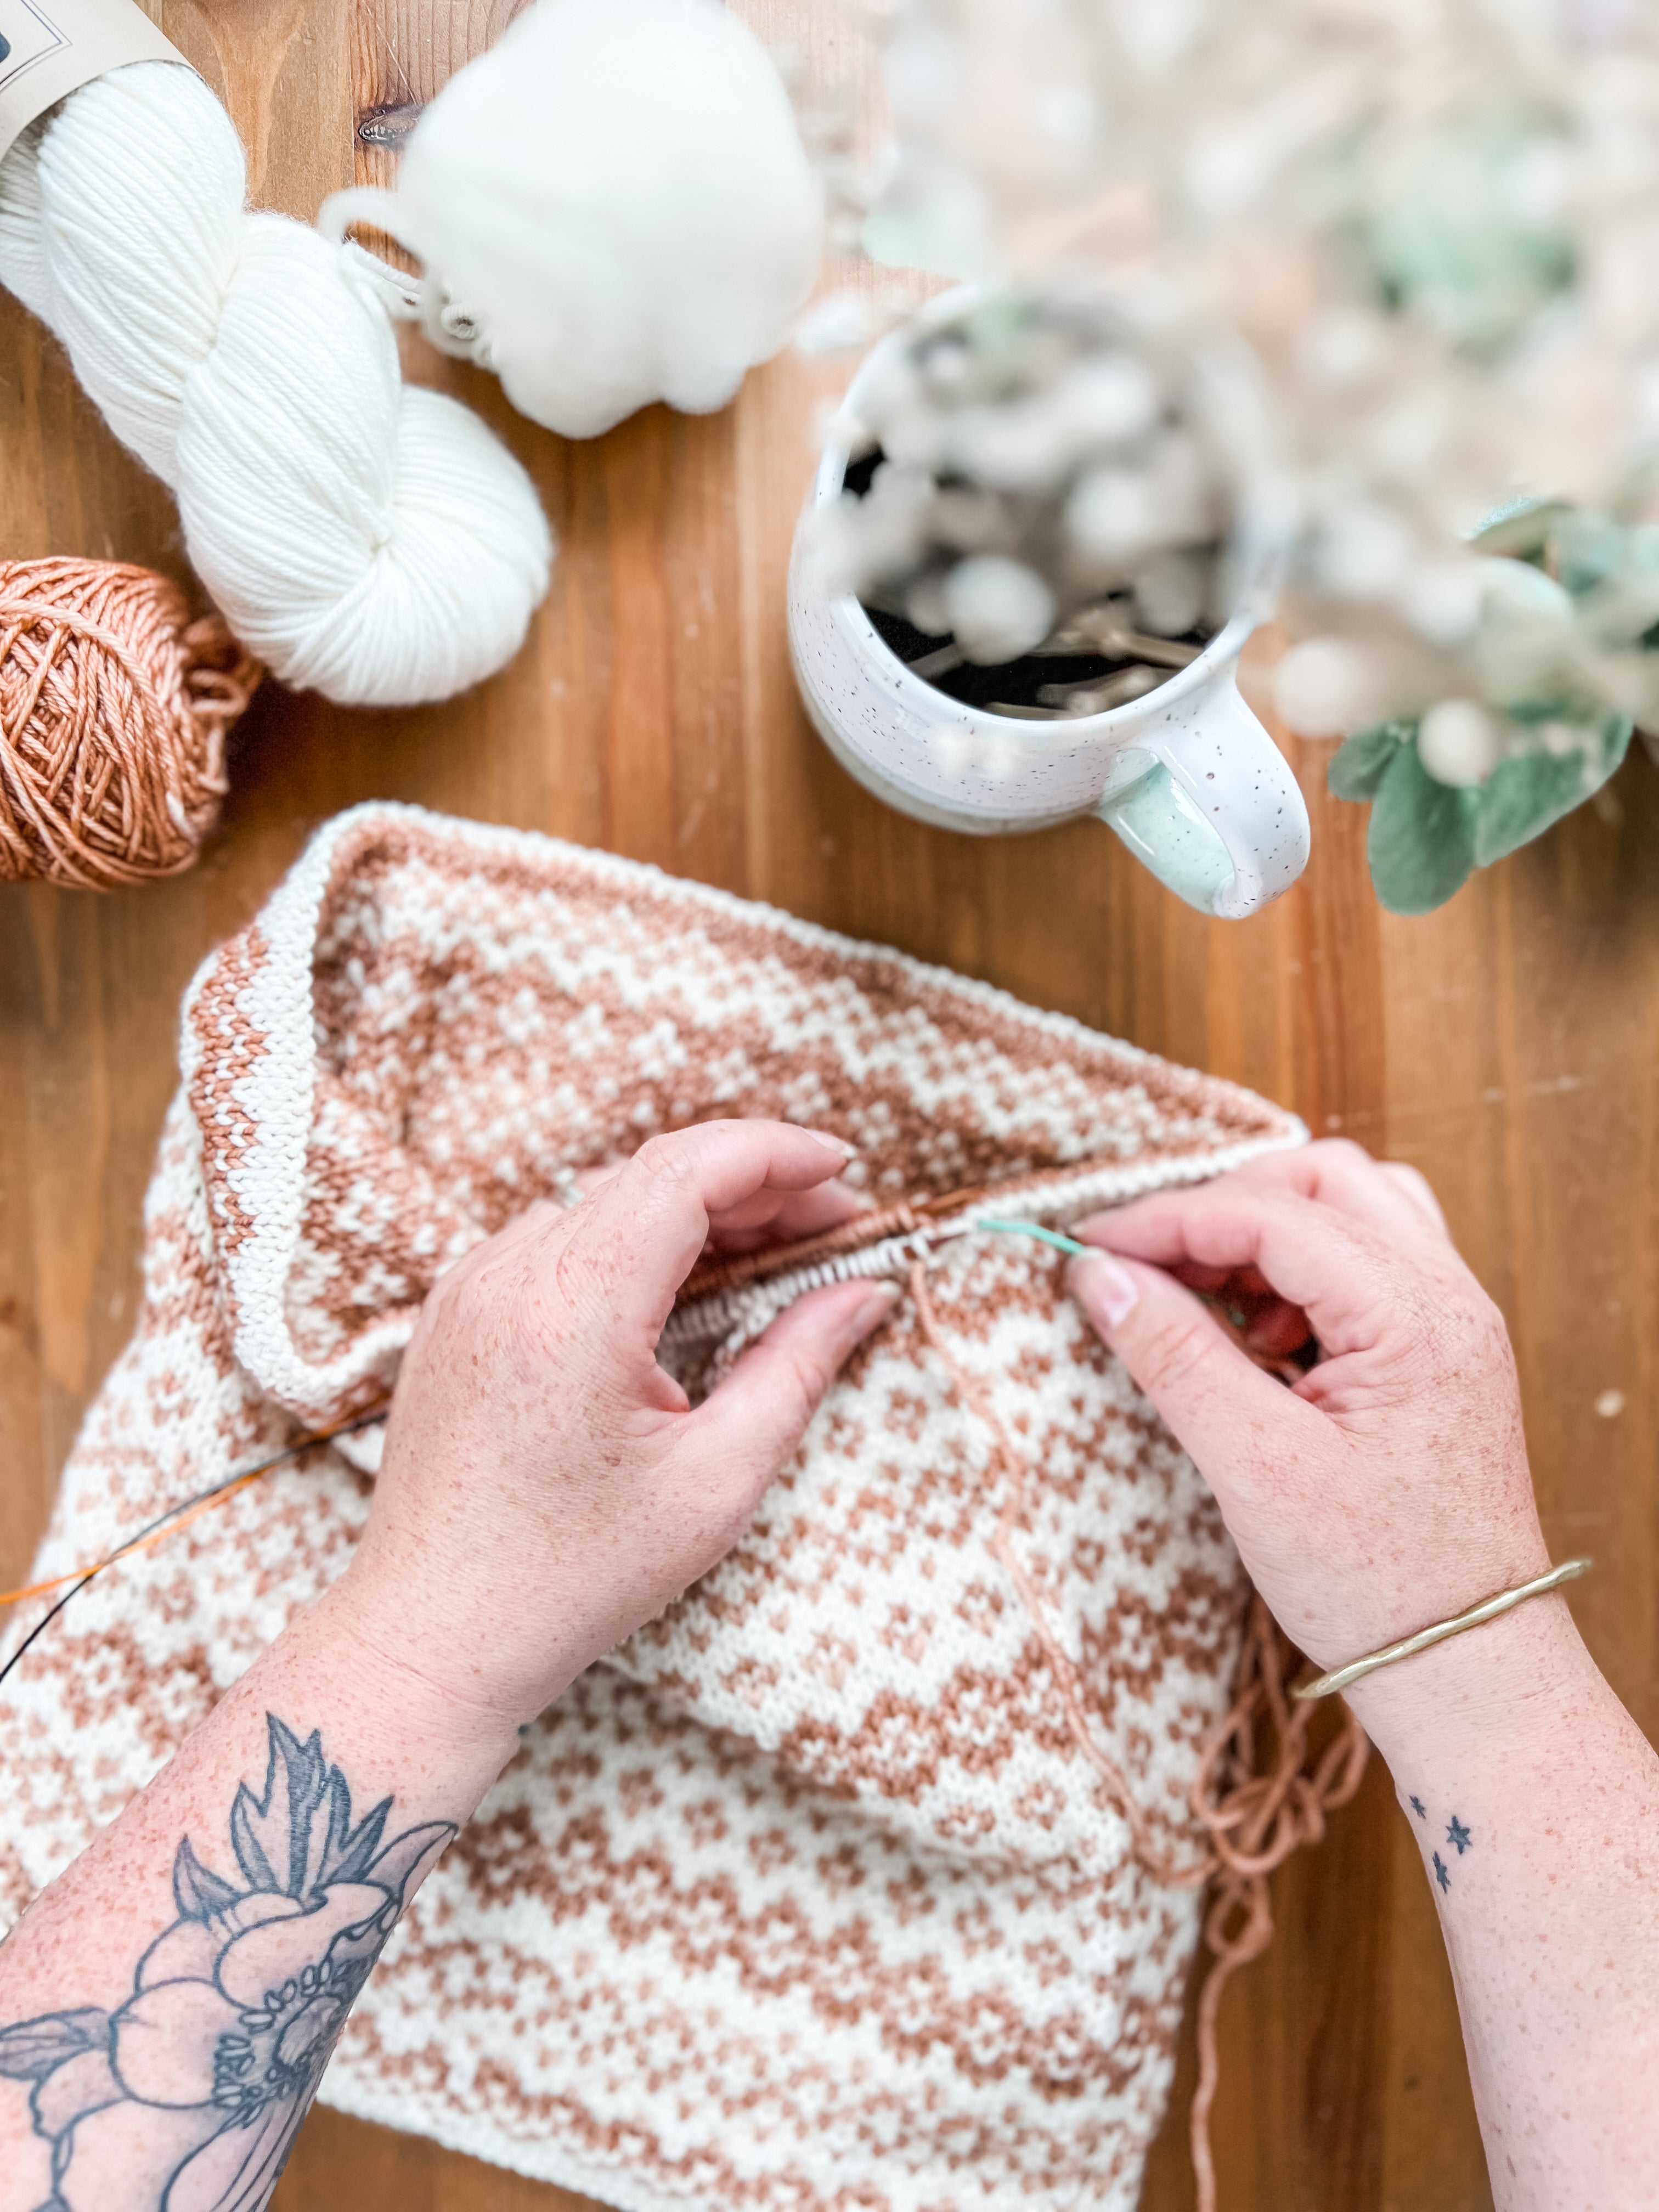
You will also want to pick a complementary color/texture to your knit and/or your personal brand. If you like a woodsy, rustic aesthetic, you might lean towards a dark wood grain like Walnut or Concrete. Whereas if you like a clean, minimal aesthetic, a lighter grain like Pine or matte white works better.
Pro Tip: If you don't have a good table or floor background, consider picking up a rigid printed photo backdrop to use instead! For a more affordable alternative, you can also use a white poster board.
Tip #2: Arrange your Knits Dynamically

Next, you want your hand knit to catch people’s attention. This means we typically lean on a more dynamic arrangement for the photo.
A good rule to think about is how the eye travels in a C shape across the photo. If you tilt your knit at an angle, you bring the viewer’s eye to the knit, and then it travels upwards through the photo, providing them more reason to look and linger on the photo.
Pro Tip: This is not to say you should *never* have a straight orientation for your knit. Choose your arrangement based on the type of feeling you're trying to achieve.
Tip #3: Frame with Greenery (or Similar)

While it doesn’t have to be explicitly “greenery”, it’s a good idea to find something linear to use to add a textural frame to your image.
Rather than a hard edge to your photo, use this technique to provide a soft transition. Do this by ensuring that the greenery sits just inside the frame of your photo, extending past the frame so it’s “cropped” by what’s in view.
Pro Tip: You’ll want to typically try this technique on 2-3 sides of your photo, but not all four edges, as this can be a little much visually.
Tip #4: Add Some Knitting Related Props

Props can add context to your image and your best photo props for knitting are things you already have!
An easy one is your leftover yarn, ideally still in nice little balls. You can also use full skeins of the same color, if you have it. These already match the color and aesthetic of your knit, and help remind people that your item is handmade. Pull a little tail out from the yarn ball and lay it in a small spiral to add some visual interest!
Another great prop are notions - think knitting needles, nice scissors, coordinating stitch markers. This example uses a custom made Bee stitch marker to connect to the main theme!
In a pinch, you can also use a cup of coffee that matches your knitting.
Pro tip: Don’t overthink it, but also don’t over crowd it. Less is more and if it starts to feel too busy, take away one or two items.
Tip #5: Take Photos at Multiple Angles

Once you have everything set up, use this staging to take photos from lots of different angles. This way you have multiple examples of your finished knit and can pull from a whole set, depending on what you're using if for - think Instagram stories vs. Etsy listing.
Typically, I like to take the following:
-
Birds eye view
-
Angled full view
-
Detail shots (hem, colorwork, etc.)
-
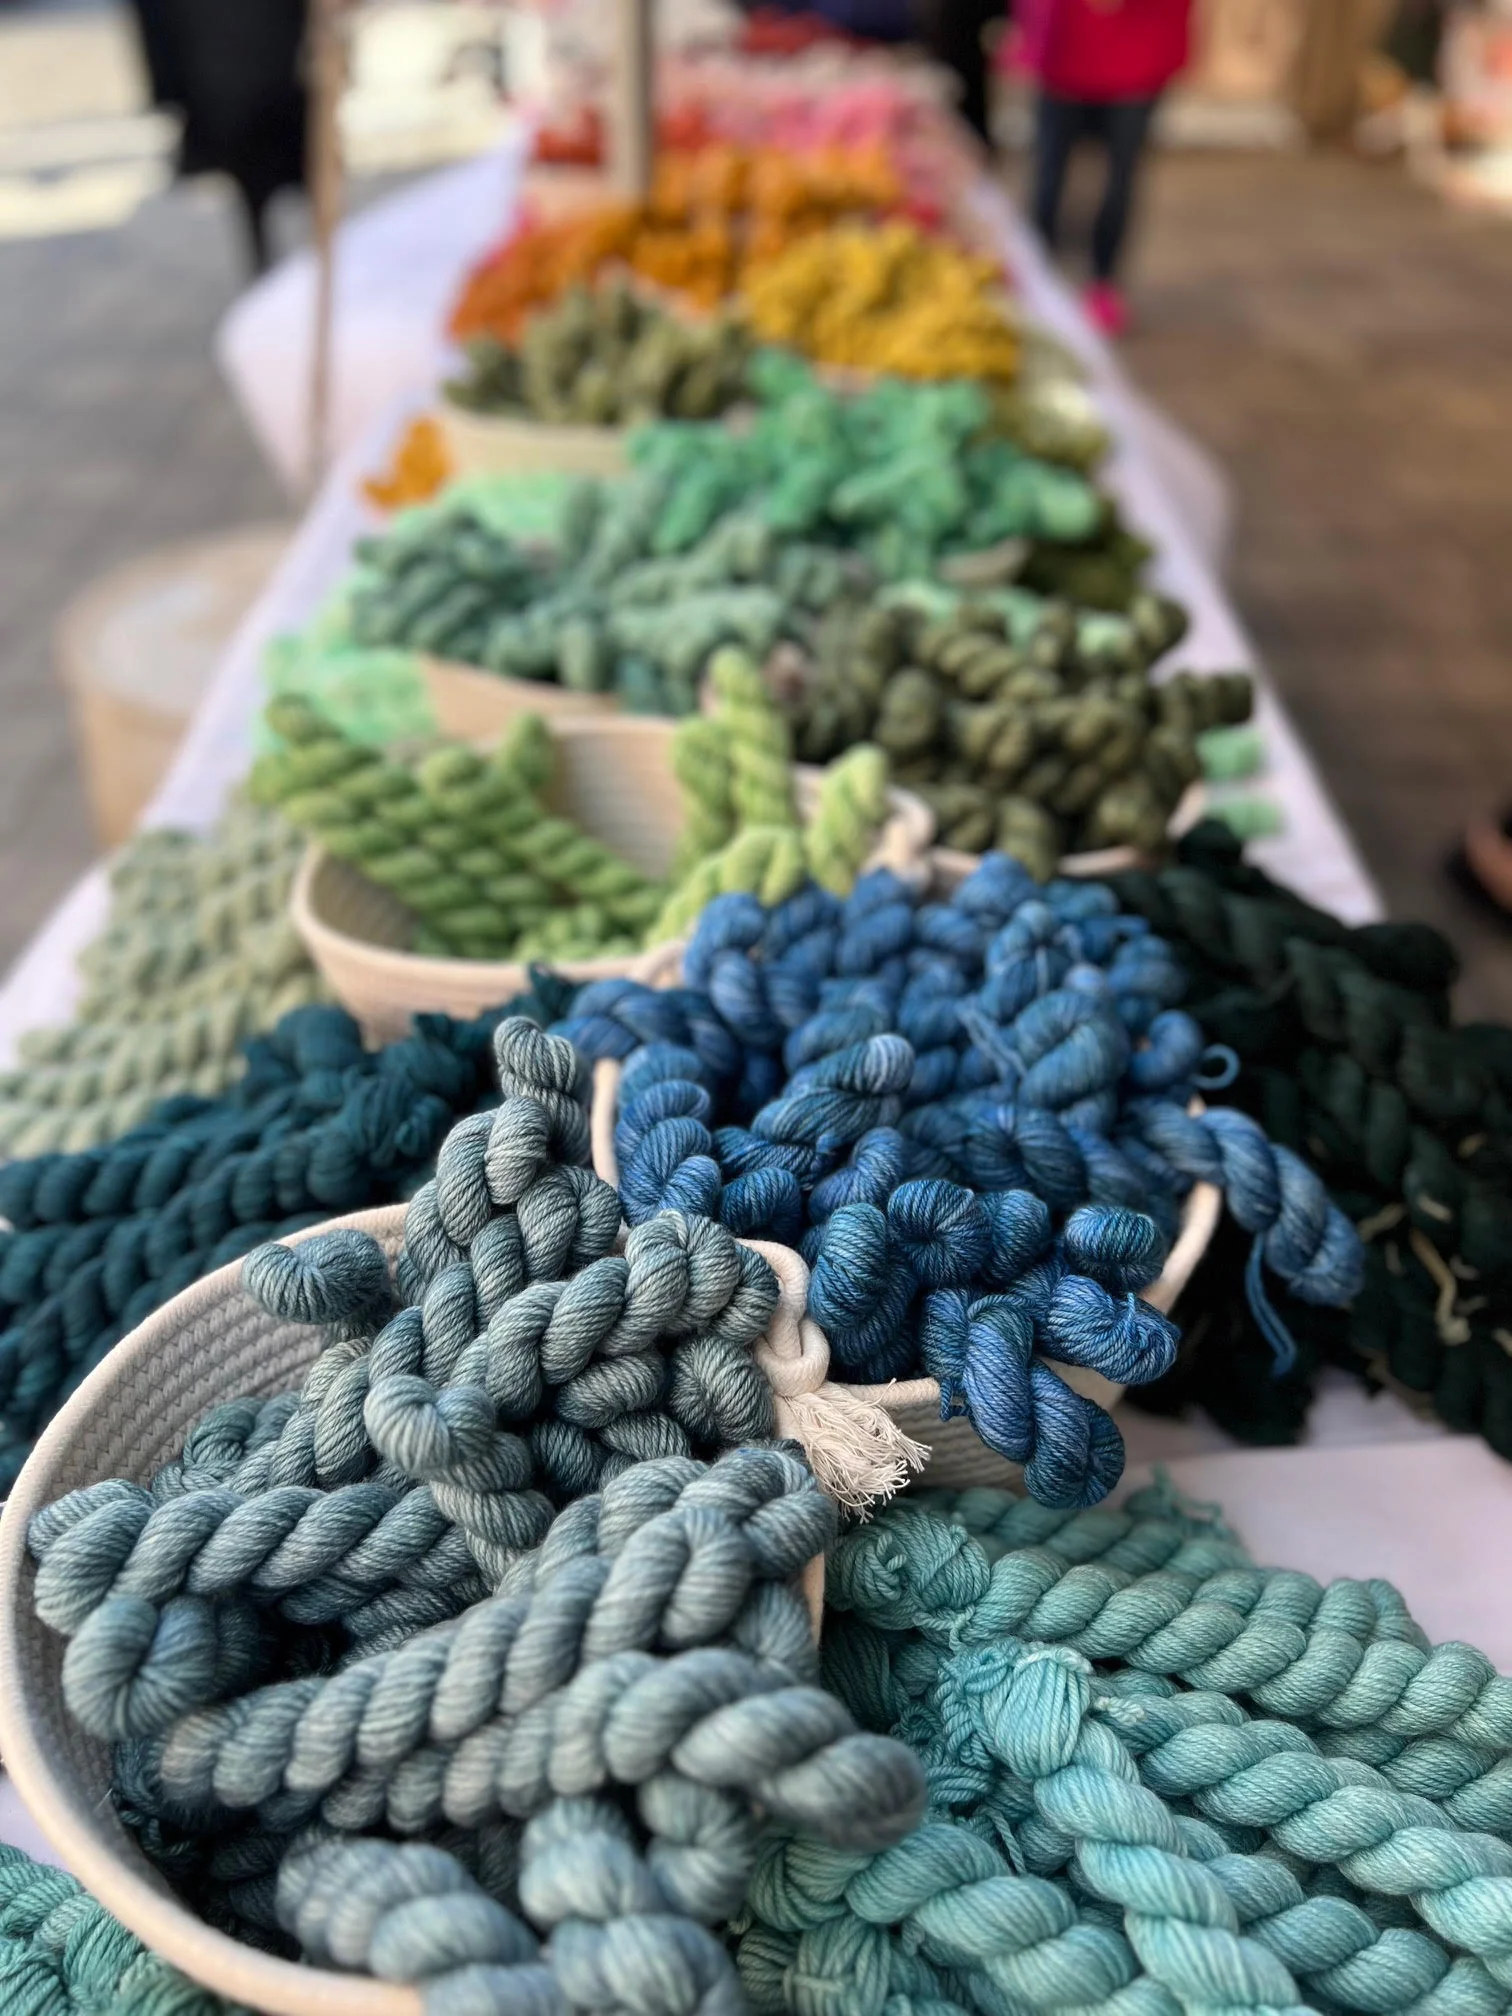
Macro shots with a blurry foreground
-
Mix of horizonal and vertical orientation
Taking lots of pictures gives you more options to work with. After you have several, you can view them on your camera or phone to select down to your favorites.
Pro tip: Don’t take down your staging until *after* you’ve selected your photos, just in case you find you need to take one more to get that perfect shot!
Additional Tips to Consider:
Try taking staged photos for both progress and finished knits
-
Use natural light when you can, or pick up a ring light
-
Learn to do some simple edits (brightness, contrast, tone) in your photo app
-
Pick up some faux greenery so it’s always fresh and ready to use
-
Block your knits for a high quality finish
About this Pattern & Yarn:
This pattern is the #MelliferaCowl by Jamie Lomax, Pacific Knit Co. available on Ravelry. The yarn used is Heather Ellis Art DK yarn in Honey (yellow) and Espresso (dark brown).


